

Table of Contents
- The Short Answer: Billet Interior Parts and Electrical Systems
- How Billet Interior Parts Actually Interact with Vehicle Electronics
- Real Causes of Electrical Issues During Interior Modifications
- How to Install Billet Interior Parts Without Electrical Risk
- Grounding Aftermarket Interior Accessories Correctly
- Preventing Electrical Shorts in Vehicle Modifications
- Troubleshooting Electrical Problems After Installation
- Conclusion
Last Updated: August 22, 2026
The Short Answer: Billet Interior Parts and Electrical Systems
No, billet interior parts themselves do not cause electrical issues. The material composition of billet aluminum is electrically inert and won't spontaneously create electrical faults. However, the installation process can introduce electrical problems if wiring is pinched, grounding paths are disrupted, or aftermarket accessories are wired incorrectly.
At LG Billet USA, we understand the concerns truck enthusiasts have about modifying their vehicles. The key is understanding what actually causes electrical failures during interior modifications and how to prevent them. The real risk isn't the billet parts, it's what happens during installation. A pinched wire behind your dashboard, a grounding connection that gets disturbed, or an aftermarket accessory pulling too much electrical load are the actual culprits. When installation is done correctly, billet interior parts integrate seamlessly with your vehicle's electrical system.
How Billet Interior Parts Actually Interact with Vehicle Electronics
Billet interior parts are mechanical components designed to replace plastic trim, bezels, and door handles. They don't generate electricity, store charge, or emit signals. The confusion often stems from mixing two different systems: the mechanical (your trim pieces) and the electrical (your wiring, modules, and power distribution).
Mechanical vs. Electrical Components in Interior Trim
Your truck's interior contains both mechanical and electrical elements working independently. A billet door handle is purely mechanical, a lever that opens your door. The electrical part is the power lock actuator that the handle may trigger through a switch.
Billet trim pieces replace the mechanical housing and aesthetic components. They don't replace wiring, switches, or electronic modules. When you install a billet interior panel, you're removing plastic and installing metal in its place. The wiring that runs behind that panel stays the same. If you remove the plastic trim without carefully routing the existing wiring out of the way, you can pinch or tear the insulation, an electrical problem caused by installation error, not by the billet part itself.
Common Misconceptions About Metal Parts and Electrical Systems
One widespread belief is that metal parts will short-circuit your vehicle's electrical system. This misunderstands how electrical shorts actually work. A short circuit requires an unintended path between a positive and negative conductor. Billet trim sitting in your dashboard doesn't create that path unless a wire is already damaged or improperly routed.
Another misconception is that metal conducts electricity in ways that will interfere with vehicle modules. Modern vehicles use shielded wiring and isolated circuits specifically to prevent interference (sae.org). Your billet interior trim, sitting statically in place, won't generate the electromagnetic interference that could disrupt your powertrain control module or CAN bus communication.
Real Causes of Electrical Issues During Interior Modifications
When electrical problems do occur after installing billet interior parts, they almost always trace back to one of three causes: installation-induced damage, aftermarket accessory overload, or improper grounding of new components.
Installation-Induced Damage: Pinched Wires and Corrosion
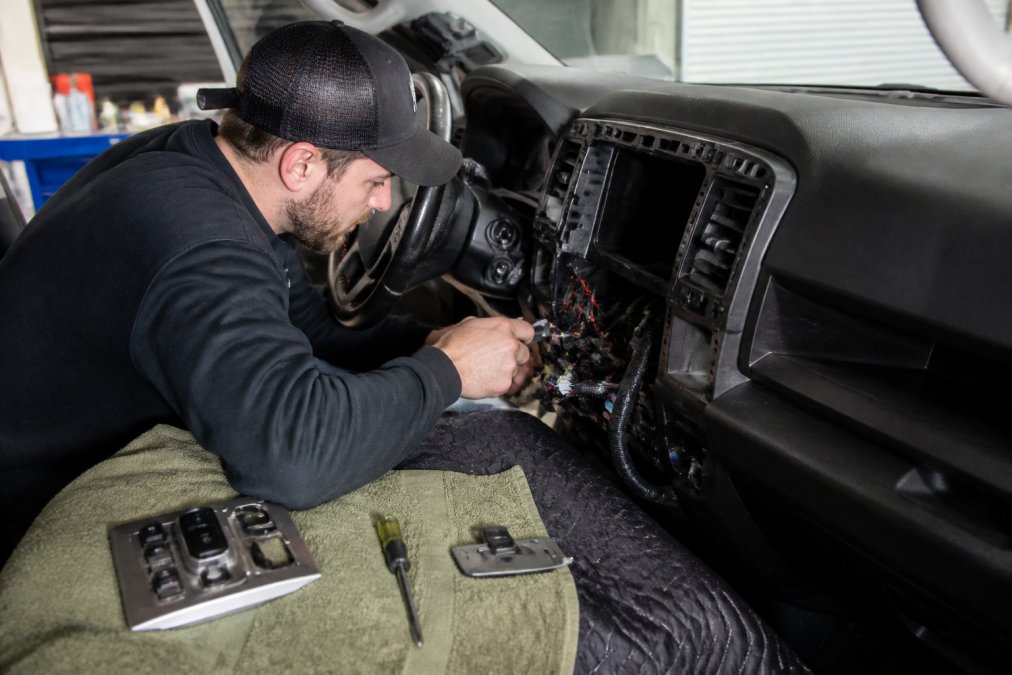
The most common electrical problem during interior modification is a pinched or crushed wire. When you remove plastic trim panels, you're working around existing wiring harnesses. If you don't carefully route these wires out of the way, fasteners can compress them against metal edges or the new billet component itself.
A pinched wire may work fine for weeks or months, but the insulation damage creates a slow corrosion point where moisture can seep in, or the exposed conductor can eventually short against nearby metal. Inspecting your work during installation matters more than the parts themselves.
Corrosion is another installation-related problem. If you remove interior panels in a humid environment or don't dry everything properly before reassembly, moisture can get trapped between the billet part and the vehicle's interior, corroding both the metal and nearby wire connections. The fix is straightforward: route wiring carefully away from sharp edges, use wire loom or heat shrink tubing to protect exposed sections, and ensure everything is dry before final assembly.
Aftermarket Accessories and Electrical Load
Many interior modifications include new accessories like LED lighting, USB charging ports, or audio upgrades. These accessories draw power from your vehicle's electrical system. If you add too many power-hungry devices without properly upgrading your electrical infrastructure, you can exceed what your alternator and battery can supply.
This creates voltage starvation rather than a short circuit. Lights dim, modules behave erratically, and you might experience intermittent electrical faults. The billet trim itself isn't drawing power, but if the wiring you installed to support new accessories is undersized or improperly routed, it can cause voltage drop across your circuits. The solution involves calculating your total electrical load and ensuring your power distribution can handle it.
How to Install Billet Interior Parts Without Electrical Risk
Installing billet interior parts safely requires planning, the right tools, and careful attention to existing wiring.
Step-by-Step Installation Process
Start by disconnecting your truck's battery. You're working around electrical systems, and a stray tool contact could create a short. Remove the plastic trim piece you're replacing and document how everything connects before you disconnect anything. Take photos of wire routing, fastener locations, and connector positions.
Carefully disconnect any wiring attached to the trim piece. Gently pull connectors apart rather than yanking wires. Route all existing wiring away from where your billet component will sit. Use wire loom, spiral wrap, or heat shrink tubing to protect any wires that will be near metal edges or fasteners, this is where most installation problems originate.
Install the billet component using the original fastener locations when possible. If you're drilling new holes, ensure you're not drilling through existing wiring or fuel lines. Reconnect all wiring, ensuring connectors are fully seated. Test each function before buttoning everything up. Reconnect the battery only after all connections are complete.
Tools and Materials You'll Need
You'll need basic hand tools: socket set, screwdrivers, wire cutters, and a trim removal tool. A multimeter is essential for testing continuity and voltage after installation. Heat shrink tubing and wire connectors protect connections from corrosion. Dielectric grease protects electrical connections from moisture without interfering with conductivity. Wire loom or spiral wrap protects existing wiring from sharp edges. avoiding incorrect part fitment.
Grounding Aftermarket Interior Accessories Correctly
If you're adding new electrical accessories during your interior modification, proper grounding is critical. A missing or poor ground connection causes more electrical failures than almost any other installation mistake.
Understanding Grounding Paths in Your Vehicle
Every electrical circuit requires a complete path: power from the battery, through the device, and back to ground. In your truck, ground is typically the negative terminal of the battery, which connects to the vehicle's frame and body.
When you add an accessory, you need to provide both power and ground. Many installers focus on the power connection and overlook the ground. A weak ground connection creates high resistance, which causes voltage drop, heat generation, and eventually component failure. The best ground point for interior accessories is typically a nearby bolt on the vehicle's frame or body. Remove paint and corrosion from the bolt hole and the back of your component to ensure metal-to-metal contact. Use a properly sized wire and secure it with a ring terminal.
Testing Continuity and Voltage Drop
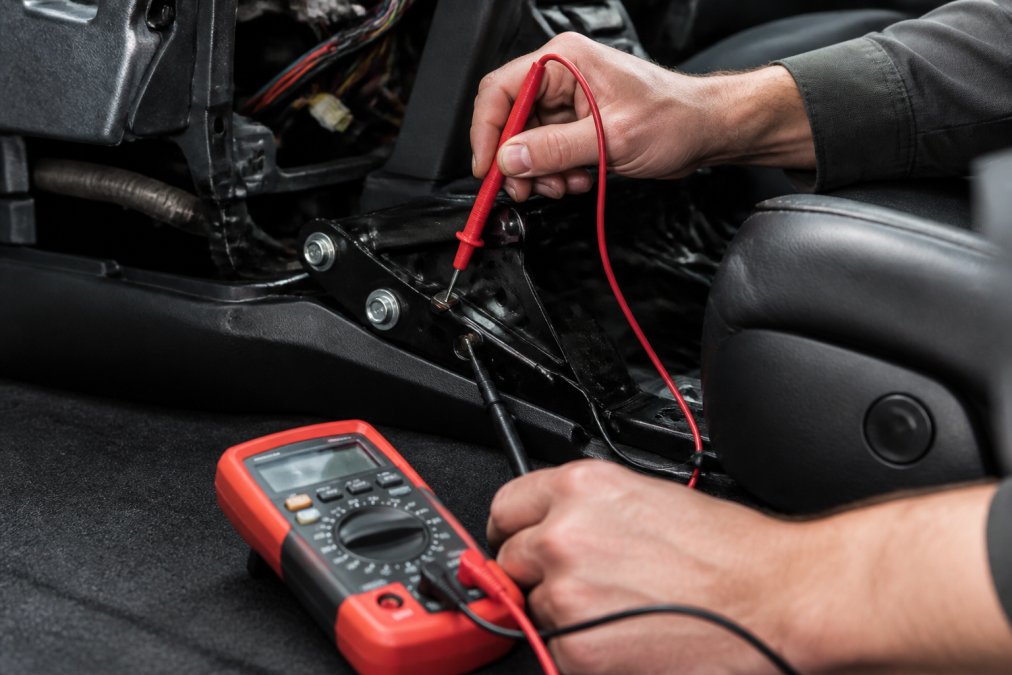
After installation, test your grounding path with a multimeter set to continuity mode. Test between your accessory's ground connection and the battery's negative terminal. You should hear a beep indicating a complete path.
Next, measure voltage drop under load. With the accessory powered on, measure voltage between the accessory's ground point and the battery's negative terminal. You should see less than 0.1 volts (nhtsa.gov). Anything higher indicates a poor ground connection that needs attention.
Preventing Electrical Shorts in Vehicle Modifications
Electrical shorts are rare when you understand what causes them and take basic precautions. A short requires an unintended connection between positive and negative conductors.
Material Conductivity vs. Insulation
Billet aluminum is conductive, but conductivity alone doesn't create a short. Your truck's wiring is already insulated with plastic or rubber. That insulation prevents the billet part from contacting the actual conductor inside the wire. The risk emerges only when insulation is damaged during installation when wires are pinched, cut, or abraded against sharp edges.
Protect wiring with appropriate insulation. Heat shrink tubing repairs damaged insulation. Wire loom protects wires running near metal edges. Butt connectors with heat shrink sleeves create reliable, insulated connections.
Proper Wiring Practices and Heat Shrink Protection
When you splice wires during interior modification, use proper connectors. Butt connectors crimped with a crimping tool and covered with heat shrink tubing create a sealed, insulated connection more reliable than twist-on connectors in the automotive environment.
Route all new wiring through existing channels when possible. Your truck's interior has conduit and clips designed to organize wiring safely. Avoid running new wiring across sharp edges or through tight spaces where insulation could be damaged. If you must cross an edge, use a rubber grommet to protect the wire.
Troubleshooting Electrical Problems After Installation
If you encounter electrical issues after installing billet interior parts, systematic diagnosis will identify the actual cause.
Diagnostic Steps Using a Multimeter
Start with visual inspection. Look for obviously damaged wires, disconnected connectors, or corrosion. Use your multimeter to test for power at the affected circuit. Set it to DC voltage mode and probe the positive side of the circuit. You should see battery voltage (around 12-14 volts) (the CDC). If you see zero, the power supply is broken.
Test ground next. Probe between the component's ground point and the battery's negative terminal. You should see zero volts. If you see voltage, the ground connection is poor. Test continuity of any new wiring you installed by setting the meter to continuity mode, disconnecting the circuit from power, and probing both ends of the wire. You should hear a beep.
Common Installation Errors and How to Fix Them
A disconnected connector is the most common issue. Check every connector you touched during installation and push them together firmly until they click.
Pinched wires show up as intermittent electrical faults. Inspect wiring carefully for compression marks or cuts. If you find damage, cut out the damaged section and splice in new wire using butt connectors and heat shrink tubing.
A missing or loose ground connection causes voltage drop and erratic behavior. Recheck all ground connections, clean corrosion away, and ensure metal-to-metal contact. Undersized wiring for high-current accessories causes voltage drop and heat generation. Verify that your wire gauge matches the current draw and consult wiring charts for proper sizing.
Electrical problems during interior modifications almost always trace back to installation technique rather than the billet parts themselves. When you plan your installation carefully, protect existing wiring, ground new accessories properly, and test your work before final assembly, electrical issues become rare. LG Billet USA components are engineered for reliability, but their performance depends on proper installation. Take your time, use the right tools, and verify each connection. Your truck's electrical system will thank you with years of trouble-free operation. Ready to upgrade your interior without electrical headaches? Browse LG Billet USA's precision-engineered components and explore our installation guides for your specific vehicle.
Frequently Asked Questions
Q: Can billet interior parts cause short circuits in my truck?
A: Billet interior parts themselves cannot cause short circuits because they're mechanical components with no electrical function. Short circuits occur only when wiring is damaged during installation, improperly grounded, or exposed to moisture. Billet aluminum is conductive, but the risk comes from installation error, not the billet material itself. Proper technique, protective measures like heat shrink tubing, and correct grounding eliminate this risk entirely.
Q: Do I need to ground billet interior accessories?
A: Most billet interior parts don't require grounding because they're non-conductive trim pieces. However, if your billet component includes any electrical connections, LED lighting, or interfaces with vehicle modules, grounding is essential. Always verify the manufacturer's specifications before installation. When grounding is needed, connect directly to a known ground point on the vehicle frame or battery negative terminal using appropriate gauge wire. Test continuity with a multimeter to confirm a solid grounding path.
Q: What causes electrical issues when installing aftermarket interior trim?
A: Electrical problems typically stem from installation-induced damage: pinched wiring harnesses during removal, corrosion from moisture exposure during the process, or disconnected factory connectors. Using incorrect fasteners that contact live wires, or failing to secure wiring away from moving trim components, creates short circuit risks. Most issues are preventable with careful technique, protective coverings, and attention to OEM specifications.
Q: How do I know if my billet interior installation caused an electrical fault?
A: Warning signs include dashboard warning lights, non-functional power windows or accessories, intermittent electrical failures, or blown fuses related to interior circuits. Use a multimeter to test voltage at suspected problem points and check for continuity in wiring. Scan for diagnostic trouble codes using an OBD-II scanner to pinpoint which modules are affected. If issues appear only after installation, systematically disconnect newly installed components one at a time to isolate the cause. Most installation-related faults are reversible with proper troubleshooting and correction.
This article was written using GrandRanker